Now, I'm going to demonstrate some tips and uses of them.
Well, imagine the following situation...
Let's we have created VuGen script, which emulates the one user:

The problem: script runs correctly in VuGen for one user, but it fails for several concurrent users. This happens since we recorded the VuGen script for the specific user:
 I marked "username" and "password" parameters and values with red lines.
Application under test (AUT) does not allow several sessions of the same user.
So, if second concurrent VuGen user logs in to application, he gets an error:
 The solution: to parameterize the VuGen script.
Implementation:
- Right click on a value we want to parameterize (in our case this is a username - "load1") and select "Replace with a parameter" menuitem:

- Name the new parameter as "UserName" and click OK btn:
 Please, pay attention to "Parameter type" combobox. It contains interesting possible types, such as: "Date/Time", Iteration Number, Random number, even XML, and others.
I will not describe them in the present post... I hope, I will have a chance to describe parameter types later. In any case, it depends on the opinion of the blog readers :) - Wow! the value "load1" will be changed with a UserName parameter:
 We have just added the new parameter! It's wonderful, isn't it, dear friend? :)
But where can we specify the real values for our parameter? How to configure it?
Let's continue... - Right click on the just added parameter and select "Parameter properties":
 By the way, this menu allows others operations with parameters. You can:
- "Restore original value (load1)"
In other words, rollback your changes - "Replace more occurrences" This menuitem will find for the initial string ("load1") in the script and will propose to replace it with the new parameter ({UserName}).Tips: Please, use this feature carefully. For example, let's there is "http://server/load1.htm" link in the script. Here, "load1.htm" is a name of page, but user. "Replace All" will produce incorrect link - "http://server/{UserName}.
- "Restore original value (load1)"
- "Parameter properties" will be shown:

- This dialog is a "heart" of any parameter. You can here:
- specify the type of the parameter
- create the pool of values for any parameter (add new values for any parameter)
- specify, how the parameter will be changed against interations and users
- and other different settings...
Tips: You can open dat-file (UserName.dat) and edit its content in the Notepad or Excel. MS Excel is useful if file contains values for several parameters.
Tips: I recommend to read the LR Function Reference, topic "Data Assignment and Update Methods for File/Table Parameters". It contains the excellent table describing Update and Data Assignement methods ("Update value on" combobox and "Select next row" combobox correspondingly). There are explanations with examples which describes - what settings should be applied for your case.
In the issue, the filled dialog will look like: These settings specify:
- the list of values to be used ("load1", "load2", "John21", etc.)
- update method ("Once") and data assignment method ("Unique").
The combination means: "The unique value assigned in the first iteration is used for all subsequent iterations of the Vuser"
So, that's exactly the same we need.
- After that I perform the similar procedure (steps 1-6) for "Password" parameter:
 Please, note:
- You can store parameters in the one dat-file. As for me, I prefer this way. Separating test data from the code is a good idea. And using one data-file is very convenient.
- In this post I use two dat-file. Just for demonstration...
- Ooh! Everything is completed I hope. Now, we have to create a scenario, add parameterized LoadRunner VuGen script and execute it :)
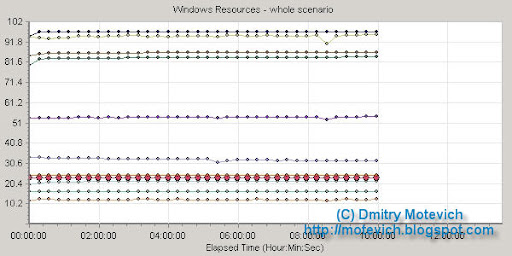
Here you are: All transactions passed. In other words, all concurrent user logged with their unique login/password combination. Each user had his own session.


The summary: Parameterizing allows simplify load/performance testing:
- Instead of writing a separate LoadRunner VuGen script for each virtual user, we added parameters for specific information (username & password) and used the one script for all users.
- Parameterizing allows decrease maintenance cost. If application under test is changed, one test should be updated for 100 (e.g.) users, but 100 tests for each user
- Supporting of tests is a real pleasure :) To add new user, a test has to update dat-files only.
All three advantages is the result of data-driven testing methodology.
I plan to describe later how to write data-driven tests, what concepts should be used, and so on.
Related articles:
- Using Correlation in LoadRunner scripts - visual tutorial
- What are LoadRunner parameter and parameterization?
- Boundaries for web_reg_save_param LoadRunner function?
- How to perform basic operations on LoadRunner parameters?
- LoadRunner Correlation - How to capture an array of dynamic data with web_reg_save_param function
- How to get LoadRunner iteration number - using LoadRunner parameter?


 Subscribe to RSS feed